
The three primary types of exterior rendering techniques are still-image renders (fixed-camera photorealistic views), aerial renders (bird’s-eye or drone-style perspectives showing site context and massing), and street-level renders (eye-height, pedestrian-perspective views that simulate the real-world approach to a building). Each technique serves a distinct purpose across marketing, planning approval, and design validation, and most real estate developer 3D exterior rendering stages use a combination of all three rather than relying on a single view type.
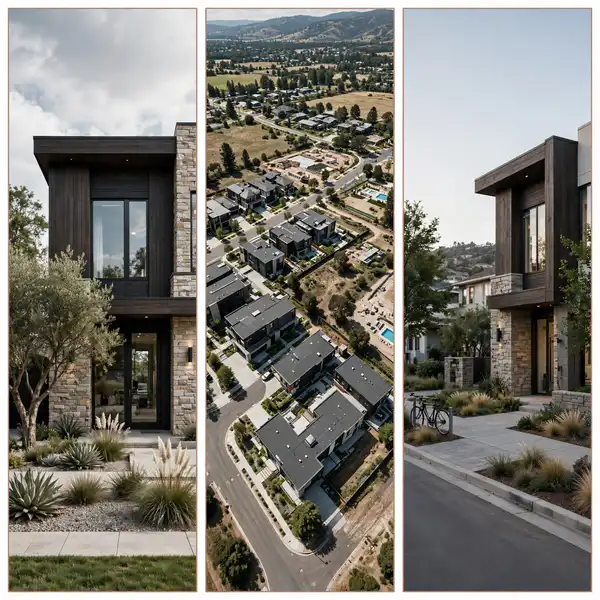
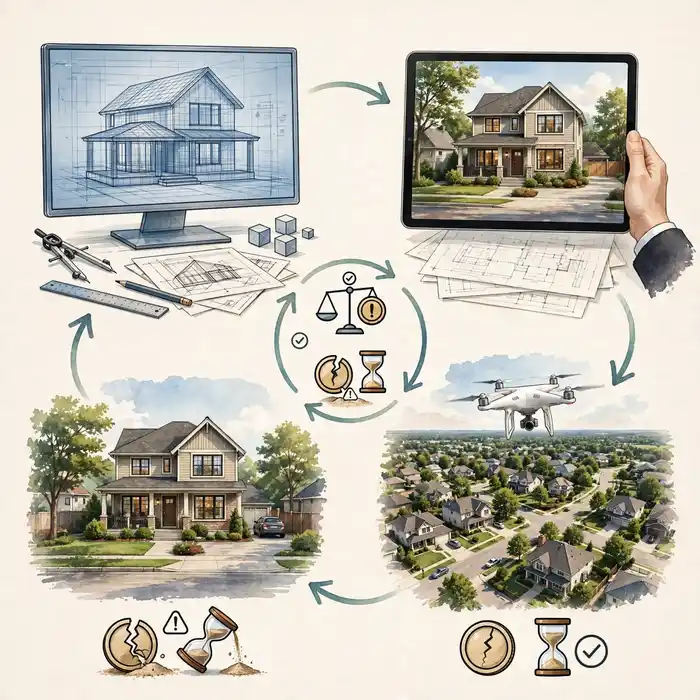
If you have ever scrolled through a property listing and paused on an exterior visual so polished it looked like a drone photograph, you were likely looking at one of these three rendering categories at work. Choosing the wrong one for your milestone – say, a single hero still when your zoning board actually needs a site-context aerial – wastes budget and delays approvals. This guide breaks down exactly when and why to use still image, aerial, and street-level exterior renderings, how they differ technically, and how leading architecture and development teams sequence them across a project’s lifecycle.
Why the Rendering Technique You Choose Actually Matters
Many teams treat “getting a rendering” as a single line item, but in practice, the technique you choose shapes the entire perception of a project before a single unit sells or a single permit clears. A planning board evaluating a 40-unit mixed-use proposal is not persuaded by a beautifully lit hero shot; they need to see setbacks, sightlines, and how the massing reads against neighboring parcels. Conversely, a prospective buyer scrolling a listing page on their phone doesn’t care about setback compliance – they want to feel, in under three seconds, whether this could be home. These are fundamentally different jobs, and conflating them is one of the most common (and expensive) mistakes development teams make when briefing a visualization partner.
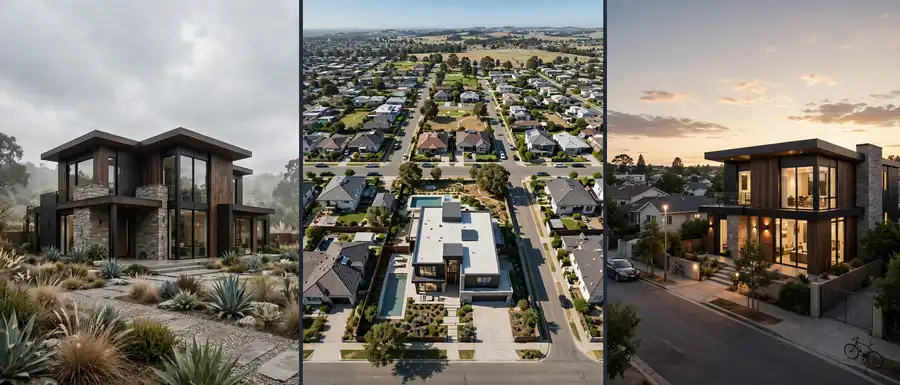
Over the past decade of producing exterior visualization for residential, commercial, and mixed-use clients, a consistent pattern has emerged: projects that intentionally sequence still, aerial, and street-level renders across their timeline see measurably better outcomes at every milestone, from faster entitlement approval to higher pre-sales conversion. This isn’t a coincidence. Each technique is engineered – through camera placement, lighting logic, and post-production choices – to answer a specific stakeholder question, and understanding that engineering is what separates a rendering package that gets rubber-stamped and shelved from one that actively drives decisions.
What Are the Main Types of Exterior Rendering Techniques?
Before diving into use cases, it helps to define each technique on its own terms. Consequently, the distinctions below aren’t just aesthetic preferences; they map to different camera logic, lighting setups, and software workflows.
- Still image rendering: A single, fixed-frame photorealistic view of a building exterior, typically composed like a hero photograph.
- Aerial rendering: An elevated or bird’s-eye perspective that shows a structure within its site plan, neighborhood, or landscape context.
- Street-level rendering: A ground-height, human-eye perspective that recreates how a pedestrian, driver, or resident would actually encounter the building.
Each of these techniques for exterior rendering is a deliberate answer to a specific question a stakeholder is asking – “does it look good?”, “does it fit the site?”, or “does it feel real when I’m standing there?” – and understanding this framing is the fastest way to brief a rendering partner correctly.
Still Image Exterior Rendering: The Marketing Workhorse
Still image renders remain the most commonly commissioned type of exterior rendering technique, largely because they are optimized for a single, high-impact frame that can carry a brochure, a listing page, or a social ad.
What Defines a Still Image Render
A still image render typically features:
- A carefully chosen “money shot” camera angle, often at a slight three-quarter perspective to show two building facades simultaneously.
- Golden-hour or soft overcast lighting to flatter materials and avoid harsh shadows.
- Minimal but intentional staging – landscaping, cars, and figures placed to suggest scale and lifestyle without cluttering the composition.
- Deep post-production polish, including color grading, atmospheric depth, and sky replacement.
The Technical Pipeline Behind a Still Image Render
Producing a convincing still image render typically moves through several distinct stages, and skipping any one of them is usually what separates an amateur-looking render from a photorealistic one:
- Model preparation: The architectural model – usually sourced from Revit, SketchUp, or Rhino – is cleaned up and optimized specifically for rendering, since a model built for construction documentation often has geometry that looks fine in plan but breaks visually in a photorealistic still.
- Material and texture mapping: Every surface, from brick coursing to glazing reflectivity, is assigned physically accurate materials so light behaves the way it would on the real building.
- Camera composition: The rendering artist selects a “hero angle,” almost always avoiding perfectly symmetrical or perfectly straight-on views, since a slight three-quarter perspective reads as more dynamic and more like an actual photograph.
- Lighting and environment setup: HDRI skies, sun position, and time-of-day settings are dialed in to match the mood the marketing team wants – warm and inviting for residential, crisp and confident for commercial.
- Rendering pass: The scene is rendered at high resolution, often taking anywhere from twenty minutes to several hours per frame depending on complexity and the engine used.
- Post-production: Color grading, atmospheric depth, sky replacement, and staging elements (people, cars, landscaping) are composited in to finish the image.
When to Use Still Image Renders
Still renders are the right call when the goal is persuasion rather than technical communication. That said, they’re not appropriate for every audience; a planning commissioner reviewing a variance request needs context a still image alone can’t provide. Use still renders for:
- Property listing hero images and print brochures
- Investor pitch decks and pre-sales campaigns
- Website homepages and landing pages
- Social media and paid advertising creative
Notably, 3D exterior renderings used in real estate pre-sales campaigns lean almost entirely on still-image compositions, since the goal is emotional buy-in from a prospective buyer before a single unit exists.
Still Image Lighting Scenarios Worth Knowing
Not all still images should be lit the same way, and the choice carries real marketing weight:
- Golden hour: Warm, low-angle sunlight that flatters most facade materials and is the default choice for residential hero shots.
- Blue hour (dusk): A cooler, moodier palette often used for luxury or commercial properties where interior lighting glowing through glazing adds drama.
- Overcast/soft light: Even, shadow-minimized lighting that’s useful when the goal is showing true material color and texture rather than atmosphere – common for technical or investor-facing decks.
- Midday: Rarely chosen deliberately for marketing, since harsh shadows can obscure detail, but occasionally requested when a client wants to show a building “as it actually appears” for documentation purposes.

Aerial Exterior Rendering: Showing the Bigger Picture
Aerial renders answer a fundamentally different question than still images do: not “does this look beautiful?” but “how does this sit within its environment?”
Core Characteristics of Aerial Renders
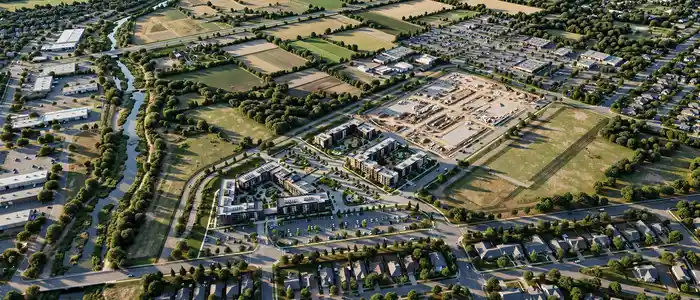
Aerial renders are generated from an elevated camera position – anywhere from a 30-degree oblique angle to a straight-down orthographic top view – and typically include:
- The full site boundary, including setbacks, parking, and access roads
- Surrounding context: neighboring buildings, existing vegetation, roadways, and water features
- Massing and roofline clarity that ground-level views simply cannot convey
- Optional overlays such as property lines, phasing boundaries, or unit numbering for master-planned communities
When Aerial Renders Are Non-Negotiable
Aerial views become essential, rather than optional, in a few recurring scenarios. For instance, real estate developer 3D exterior rendering stages almost always call for an aerial view at the entitlement stage, well before a single still image is commissioned. Common use cases include:
- Planning and zoning board submissions, where context and site coverage matter more than material finishes
- Master-planned community and mixed-use marketing, where the story is the neighborhood, not a single unit
- Investor and lender presentations that need to communicate scale, density, and phasing at a glance
- Environmental and shadow-study visualizations for larger commercial or mixed-use developments
Aerial renders are also where purpose-built rental community developers tend to invest early, since prospective institutional partners want to see the full site plan translated into a believable three-dimensional layout before committing capital.
Aerial Rendering Angle Variations
Not every aerial render is a straight bird’s-eye view. In practice, studios typically produce one of three distinct sub-types depending on what a stakeholder needs to evaluate:
| Aerial Sub-Type | Camera Angle | Best Used For |
|---|---|---|
| Oblique aerial | 30-45 degrees from horizon | Marketing material showing both massing and some facade detail |
| Straight-down (orthographic) | 90 degrees, directly overhead | Site plan verification, unit numbering, phasing diagrams |
| Drone-simulated flyover frame | Variable, mimics an actual flight path | Video walkthroughs and animated marketing sequences |
Understanding which of these three a stakeholder actually needs prevents a common and costly back-and-forth: a planning department asking for site coverage documentation almost always wants the straight-down orthographic version, not the more cinematic oblique angle a marketing team might default to requesting.
Data and Context Layers Often Added to Aerial Renders
Because aerial renders are frequently used in technical and regulatory contexts, they often carry additional data layers that a still image never would:
- Property line and easement overlays
- Phasing boundaries color-coded by construction sequence
- Solar path or shadow-study diagrams for environmental review
- Unit or building numbering keyed to a site index
- Traffic flow and parking allocation arrows for site circulation review
Street-Level Exterior Rendering: The Human Perspective
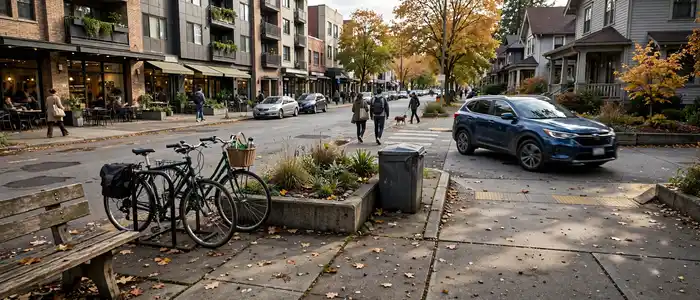
Street-level rendering is arguably the most technically demanding of the three types of exterior rendering techniques, because it has to withstand the most scrutiny: it mimics exactly what a human eye would see standing on the sidewalk.
What Makes Street-Level Rendering Different
Street-level renders are shot from an eye-height camera – generally 5 to 6 feet off the ground – and require:
- Precise lens focal-length matching to avoid the distorted, “toy-like” look that comes from using architectural wide-angle lenses at human height
- Accurate ground-plane detailing: sidewalk texture, curb cuts, street furniture, and realistic vehicle placement
- Believable pedestrian figures and vegetation scaled to true human proportions
- Careful handling of foreground elements, since anything close to a low camera fills more of the frame and demands higher fidelity
Where Street-Level Views Earn Their Keep
Street-level rendering is most valuable when a project’s ground-floor experience is the actual selling point. This applies directly to:
- Mixed-use and retail-anchored developments, where street activation and storefront visibility drive leasing decisions
- Single-family home builder marketing, where buyers want to picture themselves pulling into the driveway
- Streetscape and urban design review submissions, where a municipality wants to evaluate pedestrian experience and massing at eye level
- Architectural photography replacement for buildings that don’t exist yet, particularly useful per the 3D exterior rendering vs. architectural photography ROI analysis, which shows street-level CGI consistently outperforming staged photography budgets for pre-completion assets.
For single-family home builders, street-level renders often outperform aerial or still shots in actual sales conversion, simply because buyers respond more strongly to a perspective that mirrors their own eventual experience of arriving home.
Why Street-Level Renders Are the Hardest to Get Right
It’s worth dwelling on why street-level rendering carries the highest technical difficulty of the three techniques, because understanding this helps set realistic expectations for both budget and turnaround.
At eye height, the human brain is exceptionally good at spotting inconsistencies it would never notice from an aerial or elevated still. A slightly-too-perfect sidewalk seam, a shadow falling at the wrong angle relative to a nearby tree, or a pedestrian figure whose proportions are subtly off will all register as “something’s not right” even to viewers with no design training. This is because our everyday visual experience is almost entirely street-level; we have decades of unconscious calibration for what a sidewalk, a storefront, or a parked car should look like from this vantage point, and any deviation – however small – breaks the illusion.
For this reason, street-level renders typically require:
- More time spent on foreground detail modeling, since foreground objects occupy far more of the frame than they would in an aerial or distant still
- Careful crowd and traffic staging so the scene doesn’t feel artificially empty or artificially busy
- Attention to material weathering and imperfection – a flawless, pristine surface reads as fake at close range in a way it wouldn’t from further away
- Precise lens and focal-length matching against a real reference photo whenever the render needs to sit alongside actual site photography
Comparison Table: Still Image vs. Aerial vs. Street-Level Rendering
| Attribute | Still Image | Aerial | Street-Level |
|---|---|---|---|
| Camera height | Eye-to-elevated, fixed hero angle | Elevated / bird’s-eye | Human eye-height (5-6 ft) |
| Primary purpose | Marketing, emotional appeal | Site context, massing, phasing | Pedestrian experience, streetscape |
| Best for | Listings, brochures, ads | Zoning submissions, master plans | Retail/mixed-use, home builders |
| Technical difficulty | Moderate | Moderate | High (lens accuracy, ground detail) |
| Typical turnaround | 3-5 business days | 4-6 business days | 5-7 business days |
| Common software | 3ds Max, V-Ray, Lumion | Twinmotion, Lumion, D5 Render | 3ds Max, V-Ray, Corona |
Budgeting Across the Three Rendering Techniques
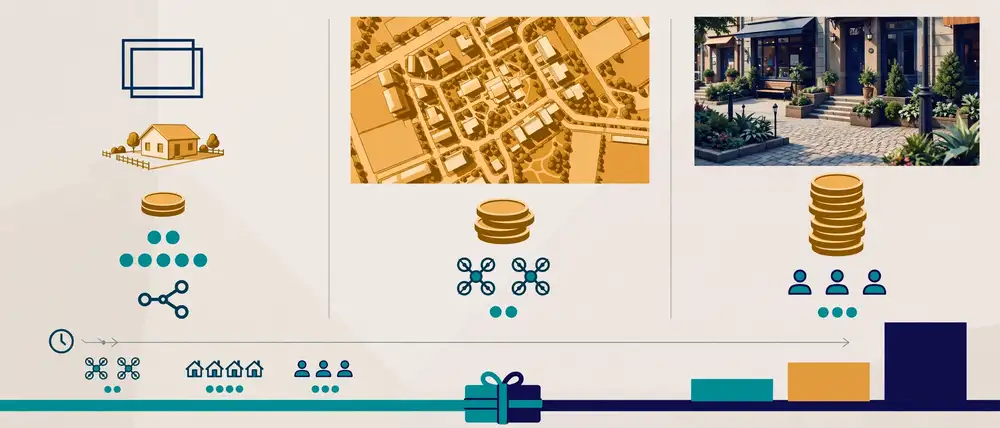
Because still, aerial, and street-level renders differ so much in technical demand, they also differ in cost and turnaround, and treating them as interchangeable line items in a budget spreadsheet is a common planning error. Still images tend to sit at the lower end of per-frame cost since the production pipeline is the most standardized and the scene scope is the narrowest. Aerial renders often cost more per frame when they require full site modeling, including neighboring structures and landscaping the client doesn’t own but needs shown for context. Street-level renders, despite showing the “least” of a project in terms of overall square footage, frequently carry the highest per-frame cost precisely because of the foreground-detail demands discussed above.
A practical budgeting approach many developers use is to scope views by milestone rather than by technique in isolation: decide what the entitlement package needs (usually one to two aerials), what the pre-sales launch needs (typically two to four still images from different angles), and what the final leasing push needs (one to three street-level views), then request a bundled quote across all of it rather than commissioning each technique separately through different rounds of procurement.
How These Rendering Techniques Fit Into a Project Timeline
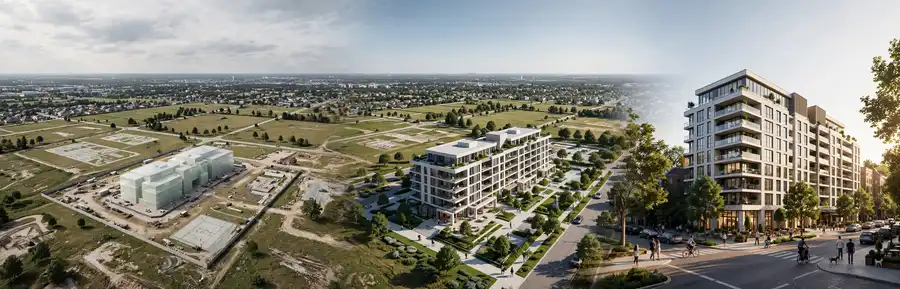
Rather than choosing one technique and discarding the others, most successful developments sequence all three across the 3D exterior rendering workflow:
- Concept and entitlement phase: Aerial renders dominate here, supporting planning submissions and early investor conversations.
- Pre-sales and marketing launch: Still images take over as the primary asset for listings, brochures, and paid media.
- Leasing and final marketing push: Street-level renders round out the asset library, giving buyers or tenants a grounded, human-scale impression before move-in.
This staged approach mirrors how AI is reshaping 3D exterior rendering production timelines, since AI-assisted lighting and material passes now let studios turn around all three view types within a single sprint rather than sequential weeks.
First-Hand Workflow Notes: What Actually Happens During Production
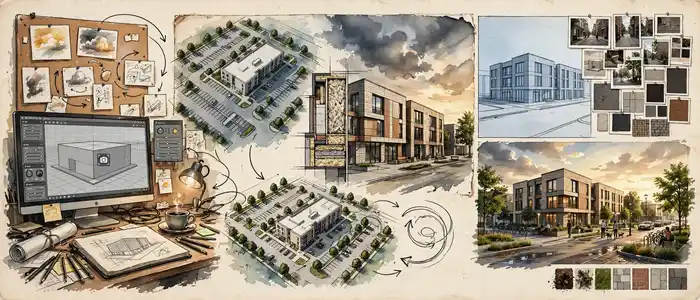
Having run large-scale exterior visualization production across residential, commercial, and mixed-use clients, a few practical realities consistently surface that briefs rarely account for upfront:
- Revision rounds cluster around lighting and staging, not geometry. Once the base model and camera angle are locked, the vast majority of client feedback is about mood – “can it feel warmer,” “can the sky be less dramatic” – rather than structural changes. Budgeting revision time with this in mind saves friction later.
- Aerial renders age faster than expected when a site plan changes. Because aerial views commit to showing full site context, even a minor parking layout revision can trigger a full re-render, whereas a still image focused tightly on one building facade is often insulated from those changes.
- Street-level renders benefit enormously from an actual site visit or reference photoset, even for buildings that don’t exist yet, since matching real ground texture, adjacent building materials, and existing street furniture dramatically increases believability.
- Clients consistently underestimate how much staging (people, cars, landscaping) affects perceived scale. A technically perfect render with no human figures for scale often reads as sterile or even slightly unsettling; a handful of well-placed figures fixes this instantly.
Common Mistakes When Choosing a Rendering Technique
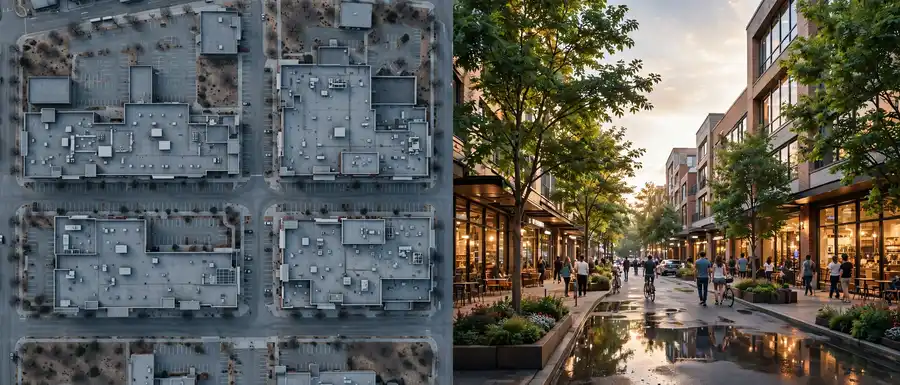
- Using only aerial renders for consumer marketing. Aerial views are excellent for context but rarely convert buyers on their own; they read as technical rather than aspirational.
- Skipping street-level renders for mixed-use retail. If ground-floor visibility drives leasing, a project without a single eye-level render is under-marketed.
- Requesting a still image with an unrealistic camera angle. A camera positioned where no human or drone could realistically stand undermines credibility with sophisticated buyers.
- Treating rendering engine choice as an afterthought. Different engines handle atmosphere, foliage, and reflections differently; see the best rendering engines for exterior architectural visualization comparison for how this affects output quality across techniques.
Expert Tips for Briefing Each Rendering Type
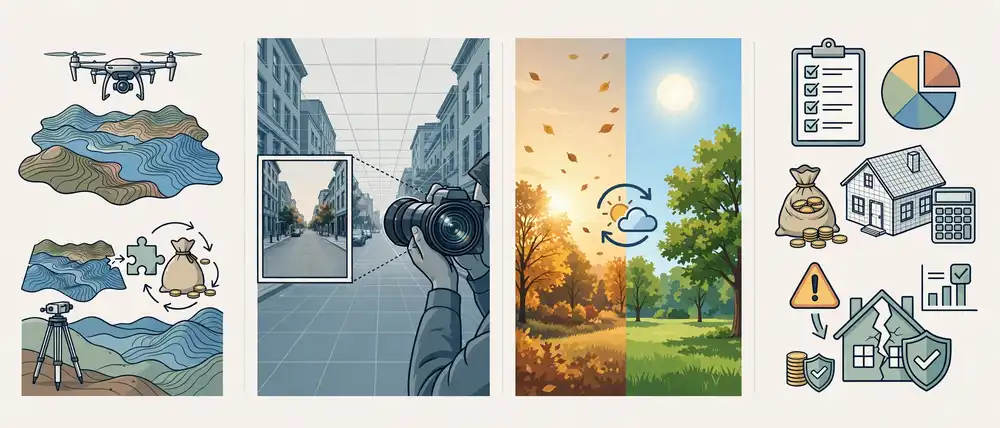
- When commissioning aerial renders, always supply an accurate site survey or topographic file; guesswork at this stage compounds into costly revisions later.
- For street-level renders, request a focal-length reference (a real photo taken from a similar vantage point) so the studio can match perspective distortion precisely.
- For still images, specify the time of day and season up front – golden hour in autumn reads very differently from midday summer light, and switching later means re-lighting the entire scene.
- Budget accordingly: understanding the full 3D exterior rendering cost and price guide before requesting all three view types prevents scope surprises mid-project.
Software and Engine Considerations Across the Three Techniques
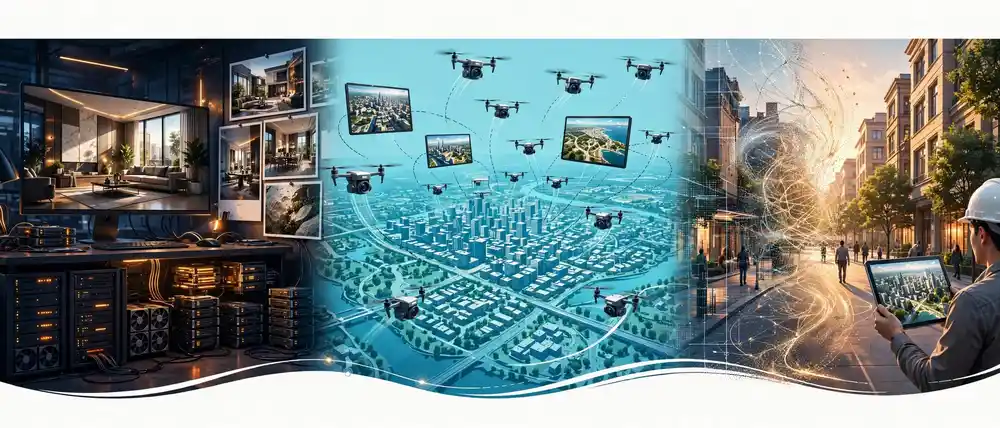
While the best rendering engines for exterior architectural visualization comparison covers engine selection in depth, it’s worth noting how technique influences that choice specifically:
- Still images typically favor offline, ray-traced renderers like V-Ray or Corona, since render time is less of a constraint when producing a handful of hero frames and maximum photorealism is the priority.
- Aerial renders, especially when multiple angles or animated flyovers are needed, increasingly use real-time engines like Twinmotion, Lumion, or D5 Render, which trade a small amount of ultimate fidelity for dramatically faster iteration across many camera positions.
- Street-level renders often use a hybrid approach: real-time engines for early client review and layout approval, followed by a final offline render pass in V-Ray or Corona once the composition is locked, to achieve the fidelity that close-range human-eye viewing demands.
This engine flexibility is part of why AI-driven changes in exterior rendering workflows have accelerated so quickly in the past few years – AI-assisted denoising and upscaling now let real-time engines approach offline-render quality in a fraction of the time, narrowing the gap between what used to be a hard technical trade-off.
FAQ: Types of Exterior Rendering Techniques
What are the main types of exterior rendering techniques?
The three main types of exterior rendering techniques are still image renders, aerial renders, and street-level renders, each serving different stages of a project’s design, approval, and marketing lifecycle.
Which exterior rendering technique is best for real estate marketing?
Still image renders are generally most effective for listings and brochures, while street-level renders often perform better for mixed-use or single-family projects where the ground-floor experience matters most.
Do I need all three rendering types for one project?
Not always, but larger developments typically benefit from all three: aerial for planning submissions, still images for marketing launch, and street-level views for leasing or final sales push.
How much do these rendering techniques typically cost?
Costs vary by complexity and view count; a full breakdown is available in the 3D exterior rendering cost and price guide.
Are aerial renders the same as drone photography?
No – aerial renders are fully computer-generated and can depict a building before it exists, whereas drone photography requires a completed structure to photograph.
Which rendering technique takes the longest to produce?
Street-level renders generally take the longest, since eye-height perspectives demand higher fidelity in foreground detail, ground texture, and figure staging than aerial or distant still-image compositions.
Can I convert an aerial render into a street-level render later?
Not directly – each technique requires its own camera setup, staging, and often a different lighting pass, so it’s more efficient to scope all required view types at the start of a project rather than trying to repurpose one into another.
Do planning departments accept AI-enhanced renderings for zoning submissions?
Most planning departments accept renderings regardless of whether AI tools were used in production, provided the final imagery accurately represents massing, scale, and site context; always confirm specific submission requirements with your local jurisdiction.
Conclusion
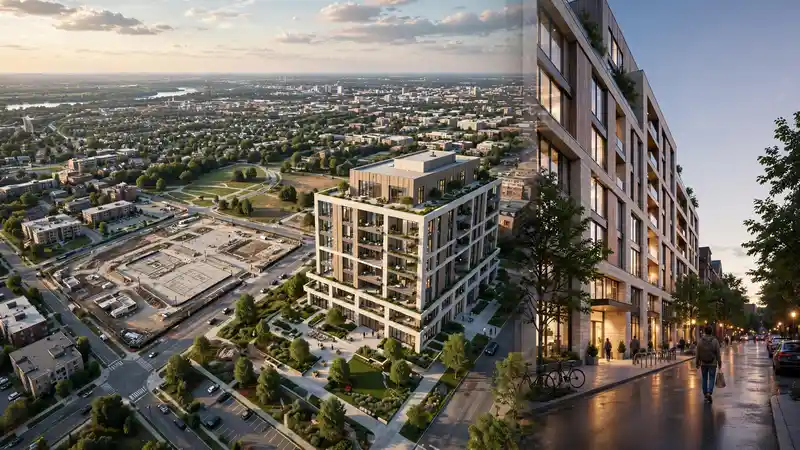
Understanding the types of exterior rendering techniques – still image, aerial, and street-level – is the first step toward building a rendering package that actually matches your project’s goals at each stage. Rather than defaulting to a single view type, map your renders to your milestones: aerial for approvals, still images for the marketing launch, and street-level for the human moment that closes the sale. Ultimately, the studios and developers who get the most value from exterior visualization are the ones who stop asking “which rendering style looks best” and start asking “which stakeholder, at which stage, needs to be convinced of what.” That single reframing does more to improve rendering ROI than any lighting or software upgrade ever will. If you’re planning your next visualization package and want a team that sequences all three correctly from day one, get a tailored rendering proposal from The 3D Exterior Rendering Company and turn your next project into a fully realized visual story before a single brick is laid.