
A 3D rendering zoning community opposition strategy uses physically based, context-matched exterior visualizations to translate site plans, massing, setbacks, and elevations into images that planning commissions and neighbors can read in seconds. Developers who submit verified-viewpoint renderings with shadow studies, landscape buffers, and streetscape context close the interpretation gap, which is a frequent source of avoidable objections at public hearings. The result is faster entitlement conversations, fewer redesign cycles, and stronger approval odds on rezonings, variances, and conditional use applications.

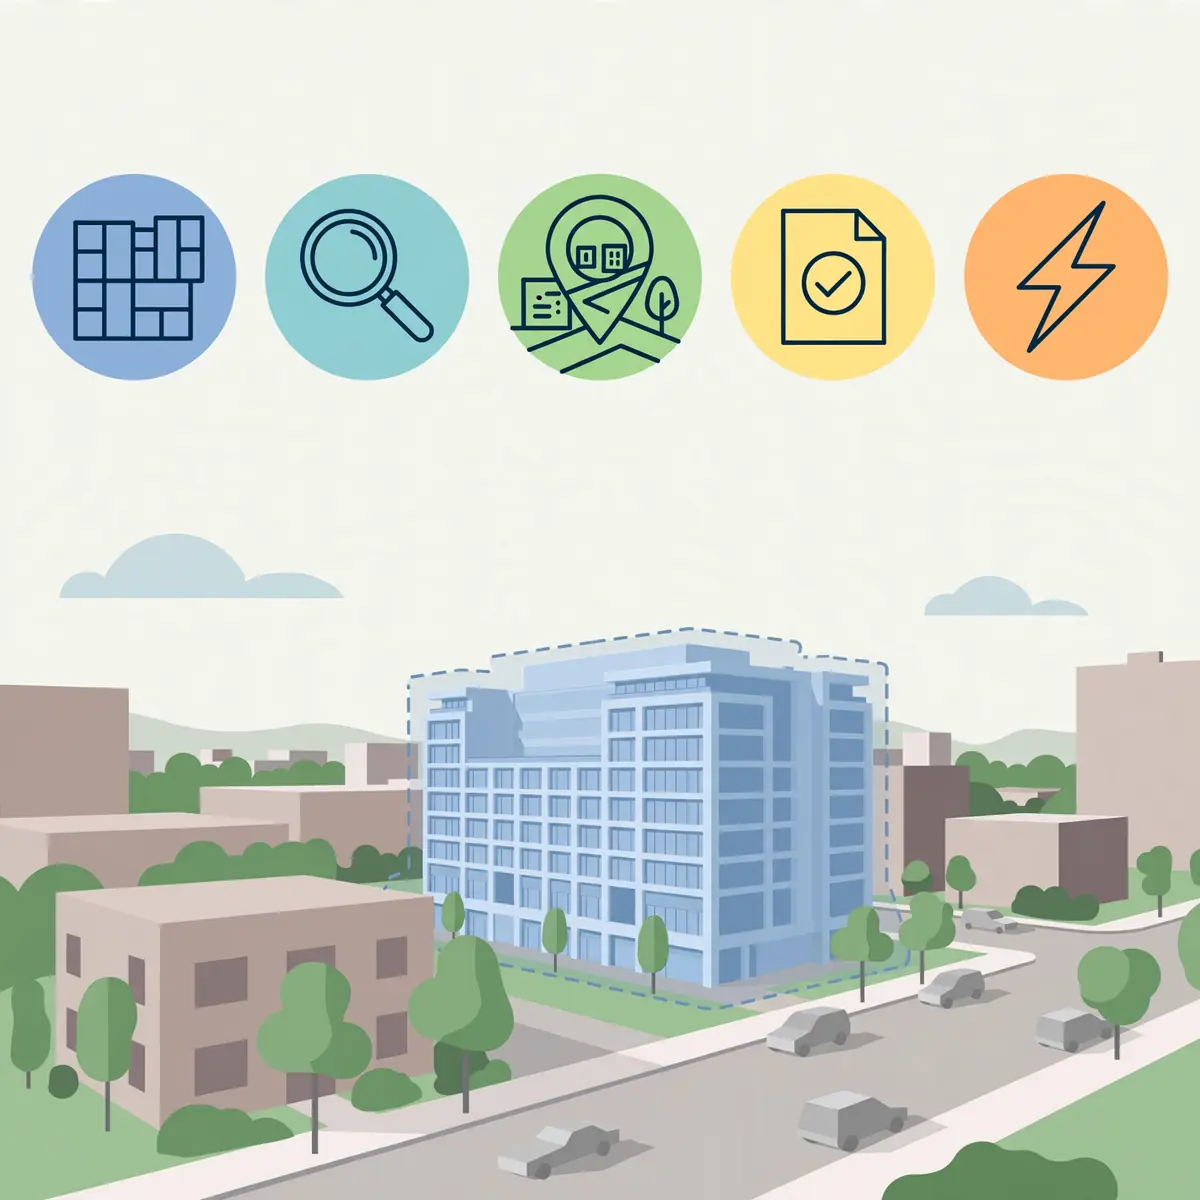
Every strong entitlement package starts with visuals that match the drawings. Developers who commission physically based 3D exterior rendering services get consistent camera angles, accurate materials, and lighting that reflects real site conditions. That consistency matters because the staff report, the neighbor flyer, and the hearing slide deck all need to show the same building.
Quick Answer: What Does 3D Rendering Do for Zoning and Community Opposition?
3D exterior rendering gives planners, neighbors, and elected officials a realistic preview of a proposed building in its real setting, so they react to the actual design instead of to worst-case assumptions. In practice, a rendering package works as a communication tool, an evidence exhibit, and a negotiation aid at the same time.
Here is the short version:
- Clarity: Renderings turn technical drawings into images that non-technical audiences understand.
- Context: Photo-matched views show the project next to existing homes, trees, and streets.
- Evidence: Shadow, height, and sightline studies answer specific objections with visuals.
- Speed: Digital models update quickly when staff or neighbors request changes.
- Trust: Honest, consistent imagery builds credibility with boards and community groups.
Why Zoning and Community Opposition Stall So Many US Projects
Most US development projects need some form of discretionary approval. A rezoning, a variance, a conditional use permit, or a design review each puts the project in front of a public body. Consequently, the project does not only face a code checklist. It also faces public opinion.
Opposition rarely starts with bad faith. In most cases, it starts with uncertainty. Neighbors see a site plan, a unit count, and a height figure, and then they imagine the result. Without a clear picture, people fill the gap with fear, and fear tends to expand the building in their minds.
The American Planning Association has long promoted meaningful public engagement as a core part of good planning practice. Visual communication supports that goal because it gives residents a shared reference point. Meanwhile, the U.S. Department of Housing and Urban Development’s HUD User research portal tracks how local regulation and review processes affect housing supply and cost, which shows why delays carry real financial weight.
The Real Cost of Uncertainty
Delay is expensive. Carrying costs, interest, consultant fees, and extended legal review all accumulate while a project waits for a hearing. Moreover, a continued hearing often invites more organized opposition, because neighbors use the extra time to build a case.
Visual clarity does not guarantee approval. Nevertheless, it removes one of the most avoidable problems: a debate about a building that nobody has seen accurately.
Common Objections and What a Rendering Can Show
| Typical Objection | What Opponents Often Imagine | What a Verified Rendering Shows |
|---|---|---|
| “It is too tall” | A wall of building towering over homes | Actual height against neighboring rooflines and tree canopy |
| “It does not fit the neighborhood” | A generic, out-of-place box | Materials, rhythm, and façade articulation matched to the street |
| “It will block our sun” | Permanent shade across yards | Hour-by-hour shadow studies for key dates |
| “We will lose privacy” | Windows staring into backyards | Window placement, screening, and landscape buffers from neighbor viewpoints |
| “Traffic and parking will overwhelm us” | Cars crowding every curb | Driveway locations, garage screening, and streetscape layout |
| “It looks cheap” | Low-quality construction | Material palette, depth, and detailing at realistic scale |
What 3D Rendering for Zoning and Community Opposition Includes
Many developers think of renderings as marketing images. A zoning-focused package works differently. It prioritizes accuracy and context over drama, and it supports a specific legal and political process.
A complete package typically includes:
- Photo-matched street views: The proposed building is placed into photographs of the actual site, using matched camera height, focal length, and lighting.
- Neighbor-perspective views: Images taken from adjacent properties, sidewalks, and intersections.
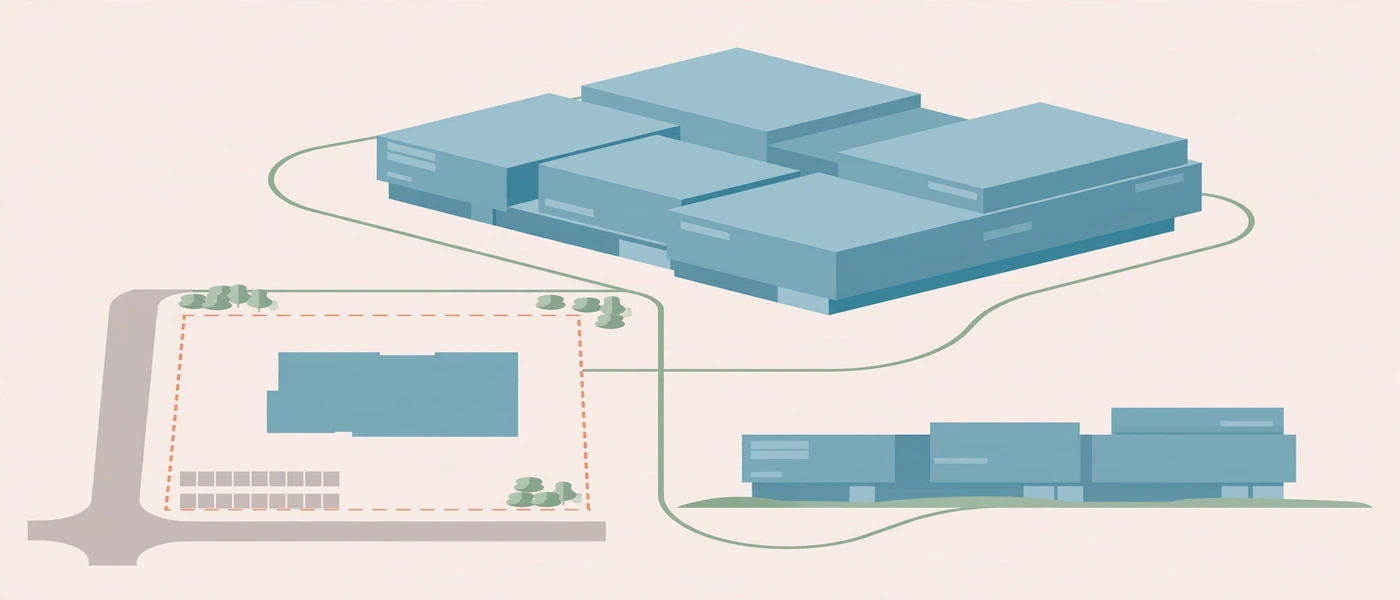
- Aerial and massing views: Bird’s-eye images that show setbacks, lot coverage, and relationships to neighboring buildings.
- Shadow and daylight studies: Still images or sequences for solstice and equinox conditions.
- Landscape and buffer views: Mature and installed-condition planting, fencing, and screening.
- Before-and-after comparisons: Side-by-side existing and proposed conditions from identical viewpoints.
- Material and façade close-ups: Detail views that show quality and texture.
Definition: What Is a Verified-Viewpoint Rendering?
A verified-viewpoint rendering is a 3D image created from a surveyed camera location, with a documented lens, height, and direction, so that an independent reviewer could reproduce the view. In short, it behaves like a photograph of a building that does not exist yet. As a result, it carries more credibility than an artistic illustration.
How 3D Renderings Answer the Five Most Common Zoning Objections
Opposition arguments follow patterns. Therefore, a smart rendering plan anticipates those patterns before the first hearing notice goes out. Below are the five objections developers hear most, with practical visual responses.
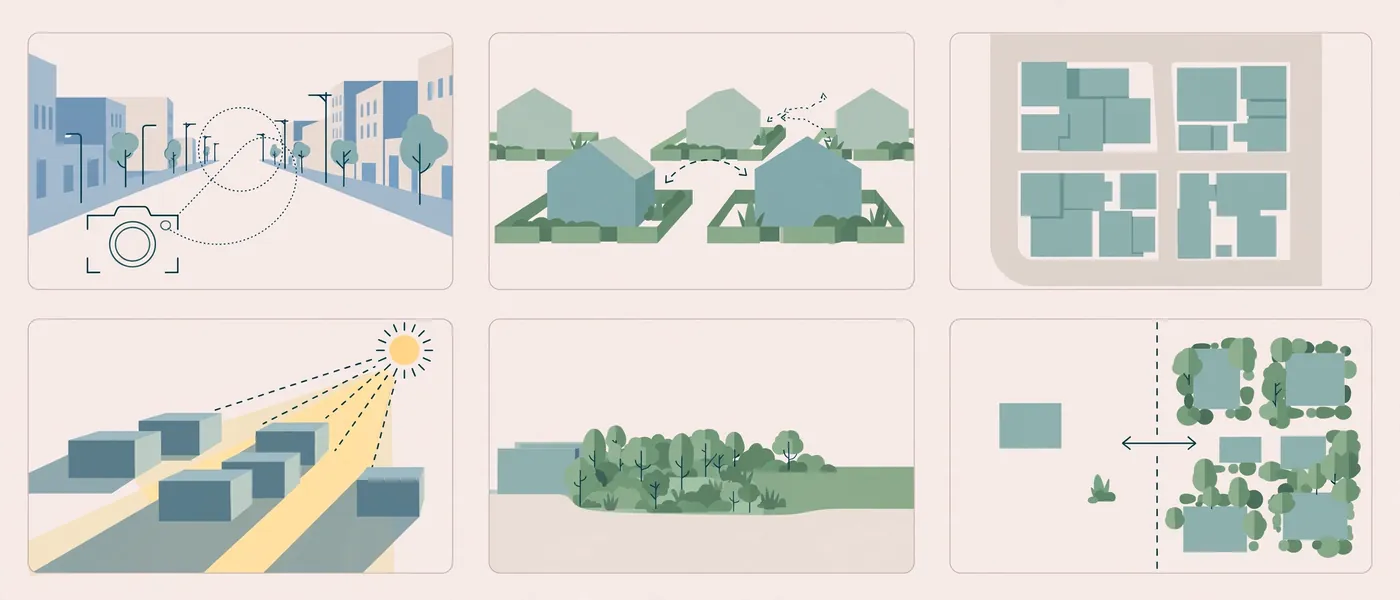
1. Height and Massing Concerns
Height is the number everyone remembers. However, a number on a plan says little about how a building feels from the sidewalk.
Strong visual responses include:
- Eye-level views from the street, using a camera height near 5.5 feet.
- Rooflines compared against neighboring buildings and mature trees.
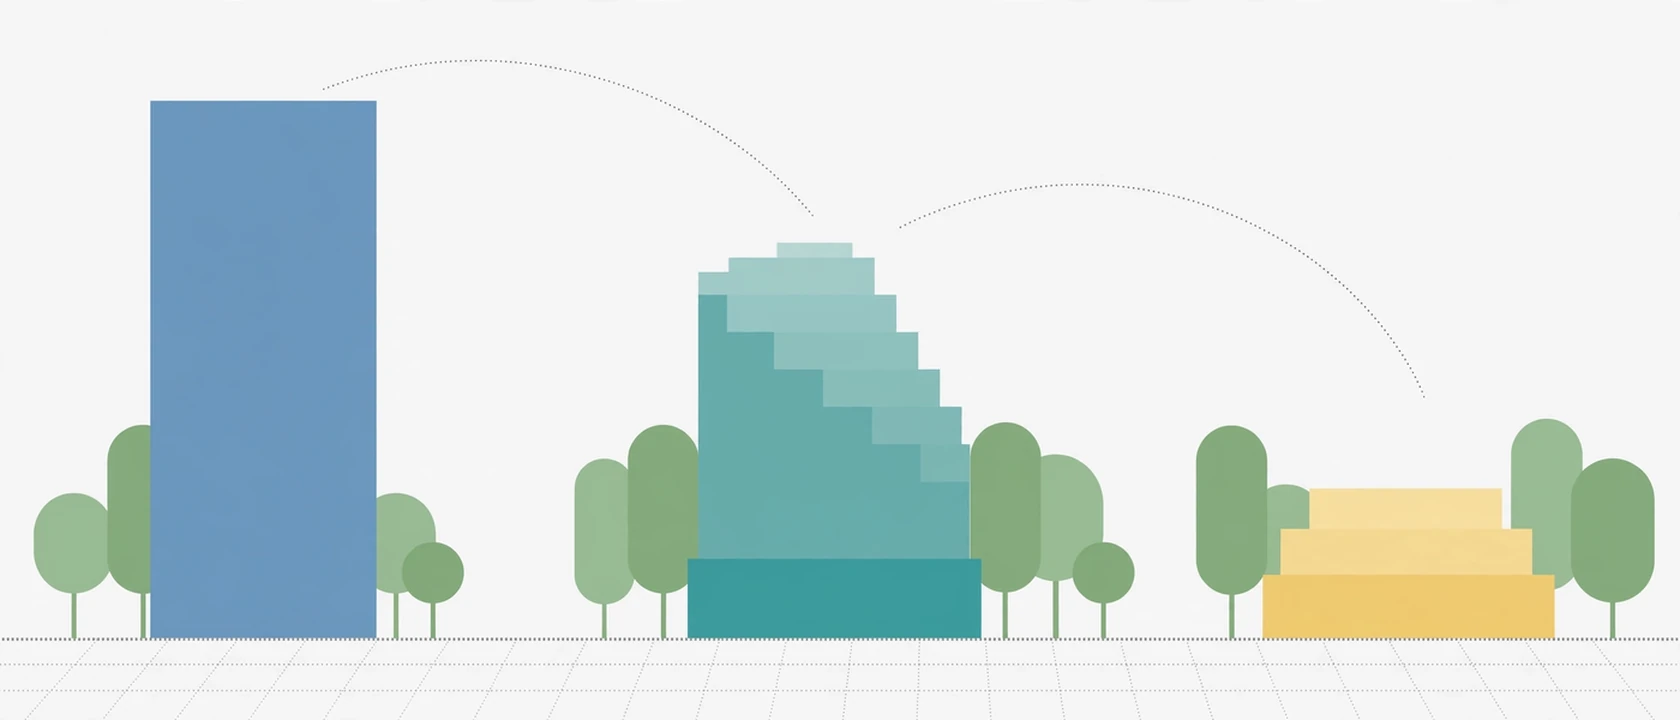
- Upper-floor stepbacks that show how massing reduces visual weight.
- Section-style views that place the building next to existing structures.
Furthermore, stepbacks and articulation become obvious in 3D. Designers can show how a four-story building steps down toward single-family homes, which often changes the tone of the conversation.
2. Density, Setbacks, and Lot Coverage
Density concerns usually center on unit counts. Yet people experience density through form, not through a number. A 3D massing view demonstrates how the site breathes: open space, courtyards, setbacks, and landscaped edges.
Useful visuals include:
- Aerial views that highlight green space and building footprint.
- Diagrams that overlay the allowed envelope against the proposed envelope.
- Views of pedestrian entries and shared open areas.
3. Shadow, Privacy, and Sightline Studies Under 3D Rendering Zoning Community Opposition Pressure
Shadow and privacy concerns often generate the most emotional testimony. Neighbors worry about losing sun in a garden or losing privacy in a backyard. Because these worries are specific, the response should be specific too.

A strong shadow study typically shows:
- Winter solstice conditions (the longest shadows).
- Summer solstice conditions (the shortest shadows).
- Spring and fall equinox conditions.
- Morning, midday, and late-afternoon time stamps.
For privacy, designers can generate views from a neighbor’s second-floor window or backyard looking toward the project. Then they can overlay window locations, frosted glazing, screening, and planting. In many cases, the image proves that the sightline is either minimal or manageable, and it identifies where design changes could help.
4. Traffic, Parking, and Streetscape Fears
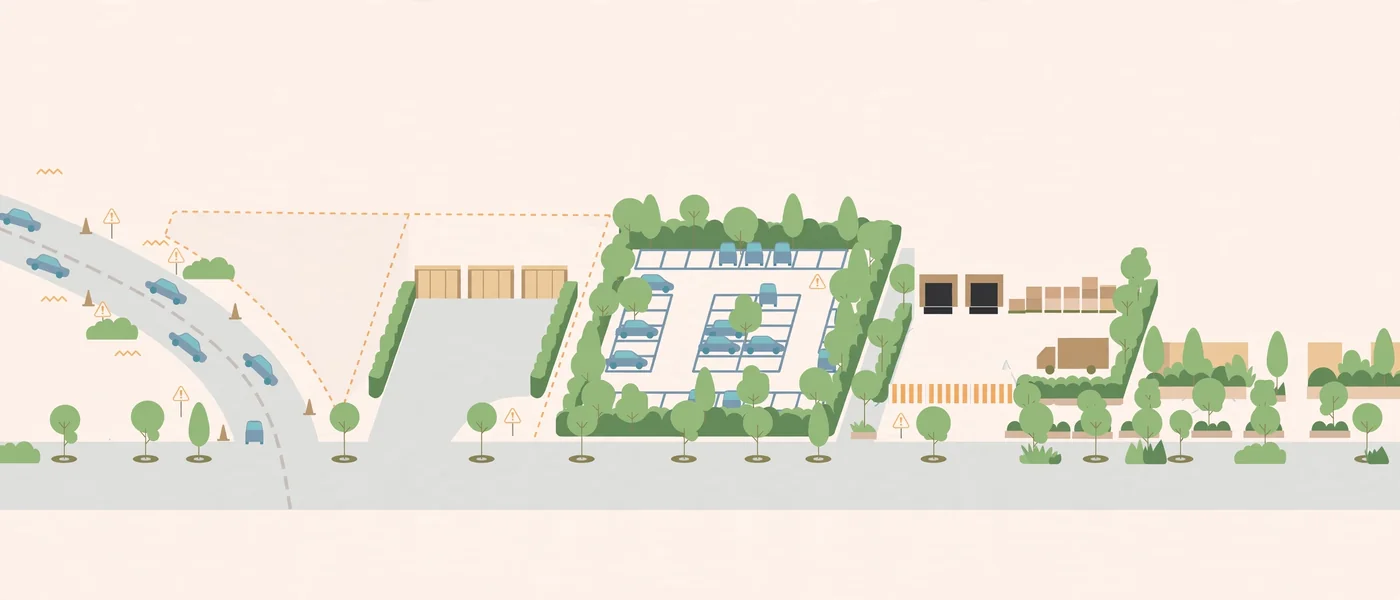
Rendering cannot replace a traffic study. Still, it can make the results more understandable. Views of driveway entries, garage doors, loading areas, and sidewalks show how vehicles and pedestrians interact with the street. Likewise, screened parking and landscaped frontages demonstrate that cars will not dominate the façade.
5. “It Does Not Fit the Neighborhood” Character Arguments
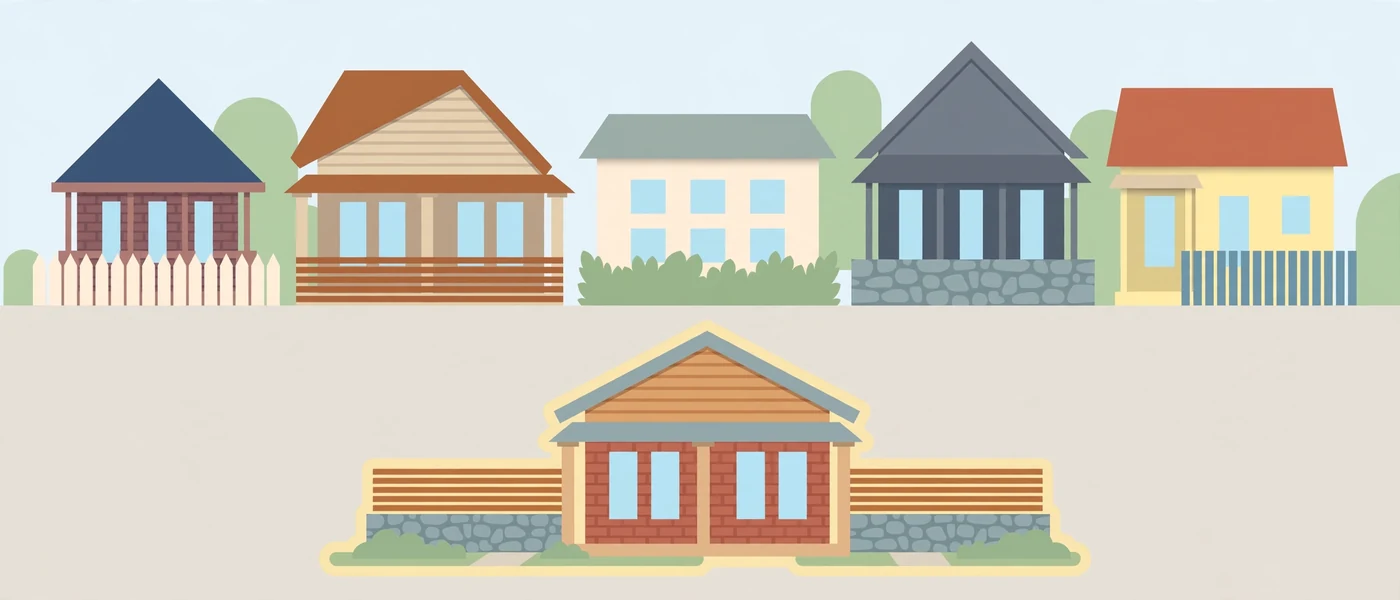
Character arguments feel subjective, so visuals matter even more. Designers can study the surrounding block and extract real cues: porch depth, roof pitch, material colors, window rhythm, and fence styles. Afterward, they can show how the proposed building echoes or reinterprets those cues.
This approach respects the community. It also gives commissioners a concrete way to evaluate compatibility instead of relying on adjectives.
3D Rendering vs Other Visuals: A Comparison for Hearing Rooms
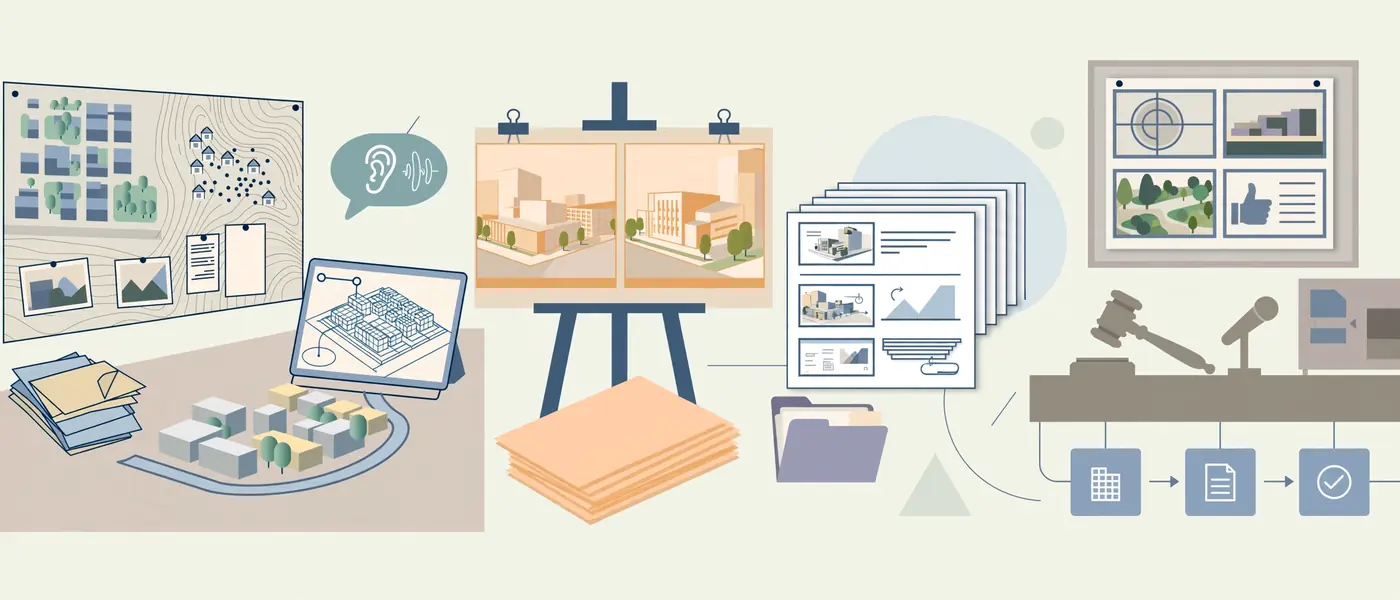
Developers have several ways to show a project. Each method has a role, but they do not perform equally under public scrutiny.
| Visual Method | Accuracy in Context | Revision Speed | Typical Cost | Best Use | Main Risk |
|---|---|---|---|---|---|
| 2D elevations and site plans | High technical accuracy, low public readability | Moderate | Low | Required filings | Hard for lay audiences to interpret |
| Hand-drawn or artistic sketches | Low to moderate | Slow | Moderate | Early concept | Seen as idealized or misleading |
| Physical scale models | Moderate | Very slow | High | Showpiece for large projects | Hard to transport, expensive to change |
| Photomontage (simple overlay) | Moderate | Fast | Low | Quick context checks | Lighting and scale errors undermine trust |
| Verified 3D exterior rendering | High | Fast | Moderate | Hearings, meetings, staff reports | Poor ethics (hero shots) can backfire |
| Real-time 3D or VR walkthrough | High | Moderate | Moderate to high | Large mixed-use or master-planned projects | Requires hardware and staging |
Overall, verified 3D rendering balances accuracy, speed, and cost. In addition, it produces assets that developers can reuse in staff reports, community flyers, websites, and later marketing. For a broader view of how teams combine these assets, see this guide on how architects and developers use 3D exterior renderings.
Step-by-Step: Building a Zoning-Ready 3D Rendering Package
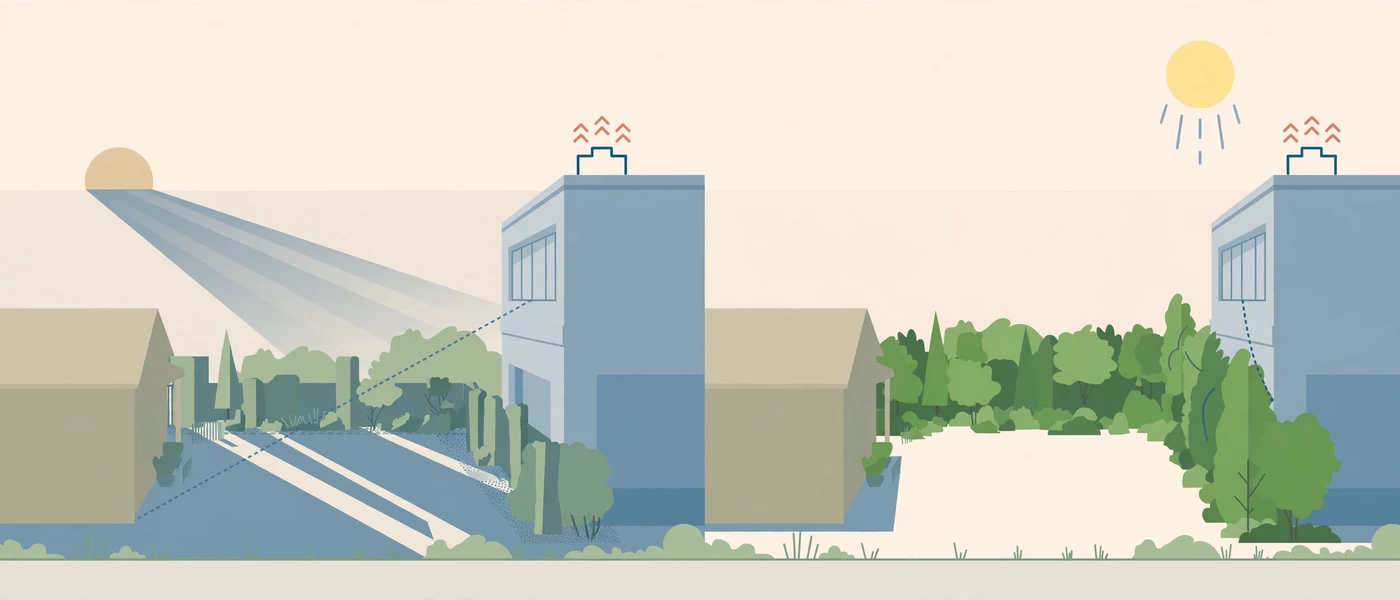
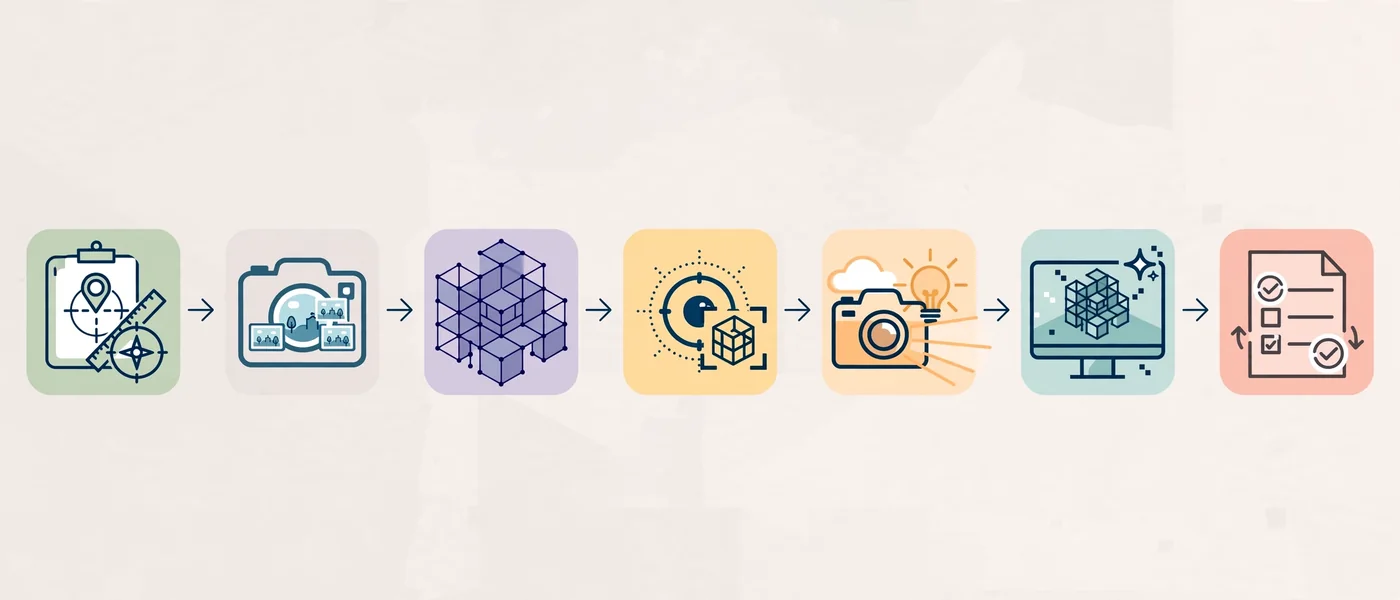
A good package does not happen by accident. It follows a repeatable process. If you want a deeper look at the technical pipeline, review this breakdown of the 3D exterior rendering workflow. The steps below adapt that pipeline to entitlement work.
- Collect the right inputs. Gather the survey, site plan, CAD or BIM files, elevations, material schedules, landscape plans, and the zoning code excerpts that apply.
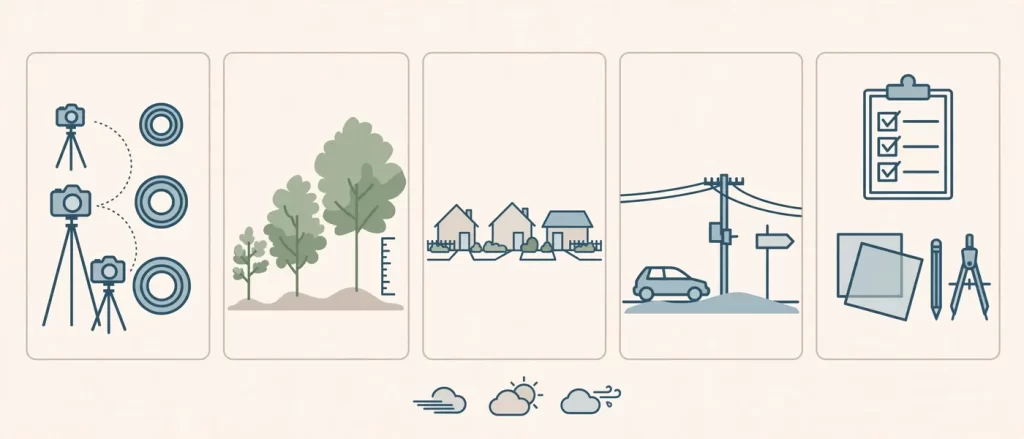
- Document existing conditions. Capture site photographs with recorded date, time, location, lens, and camera height. These records support credibility later.
- Build an accurate 3D model. Model the building, grading, neighboring structures, and key trees at true scale. Any shortcut here will show up as an error in the hearing.
- Select viewpoints with the team. Work with the planner, architect, and land-use counsel to choose views that match likely concerns. Include views the opposition would pick, not only flattering ones.
- Match cameras and lighting. Align virtual cameras to the photographs. Then set sun position, sky conditions, and exposure to match the photo or the study date.
- Render and review. Produce draft images, check them against the drawings, and confirm dimensions, heights, and setbacks.
- Label and document. Add viewpoint maps, captions, and a short methodology note that explains how each image was produced.
- Revise after feedback. Update views when staff comments or neighborhood input lead to design changes.
Quick Snippet: How Long Does a Zoning Rendering Package Take?
Most zoning-focused packages take roughly two to four weeks, depending on project size, the number of views, and how quickly the team supplies inputs. Larger mixed-use projects with shadow studies and animations can take longer. Early file delivery and a fixed viewpoint list keep the schedule tight.
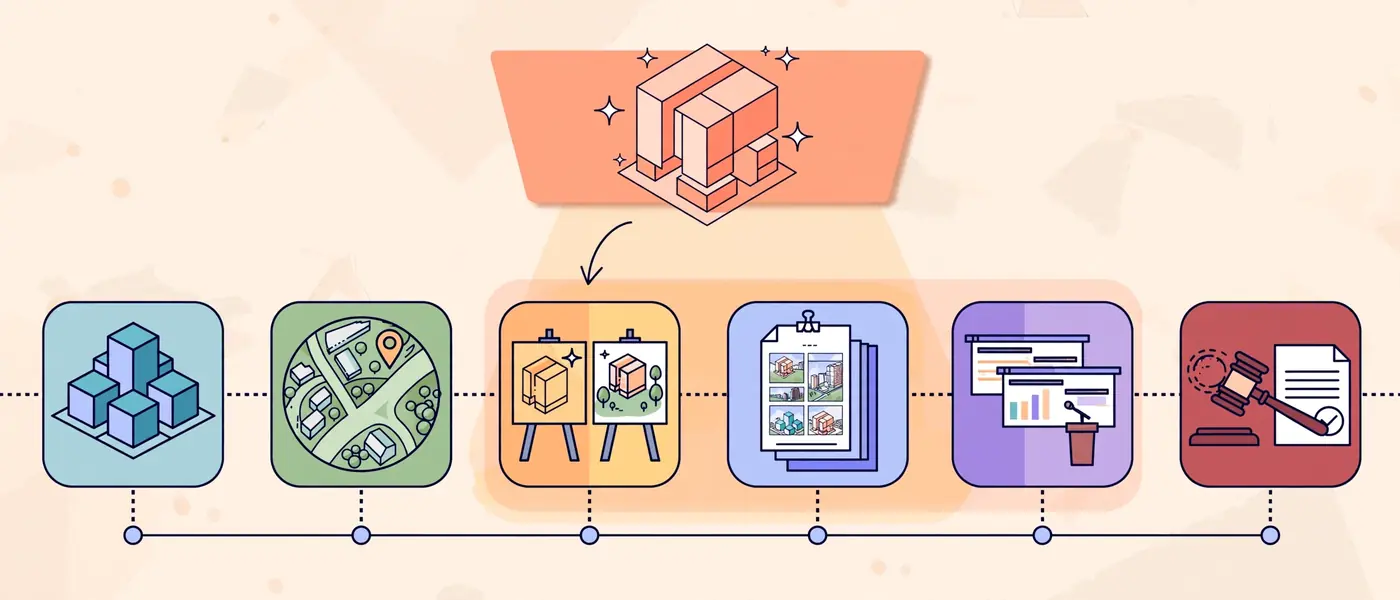
Where Renderings Fit in the Entitlement Timeline
Renderings help most when teams use them early and often. Waiting until the final hearing wastes their value, because opposition tends to harden before the public record opens.
| Entitlement Phase | Recommended Rendering Deliverable | Purpose |
|---|---|---|
| Concept and feasibility | Massing studies and one or two context views | Test height and density options before design hardens |
| Pre-application meeting with staff | Photo-matched street view and aerial | Align with planners on compatibility and code questions |
| Early neighborhood outreach | Before-and-after views, simple boards | Introduce the project calmly and gather feedback |
| Formal application | Full viewpoint set, shadow study, elevations | Support the staff report and application narrative |
| Planning commission hearing | Clean slide deck, 4 to 8 key views | Answer testimony with prepared visuals |
| City council or board appeal | Updated views reflecting approved conditions | Show how the project responded to feedback |
The stages of a real estate developer’s 3D exterior rendering process map closely to this timeline, so it helps to plan the visual budget around those milestones.

Why Early Engagement Beats Late Defense
When developers share clear visuals before the hearing, neighbors arrive informed. As a consequence, testimony tends to focus on real design questions instead of rumors. Moreover, early feedback often reveals low-cost changes, such as moving a window, adjusting a fence, or adding a planting layer, that prevent larger conflicts.
Using Renderings in Neighborhood Meetings and Public Hearings
A strong image can still fail if the presentation is poor. The delivery matters as much as the file.
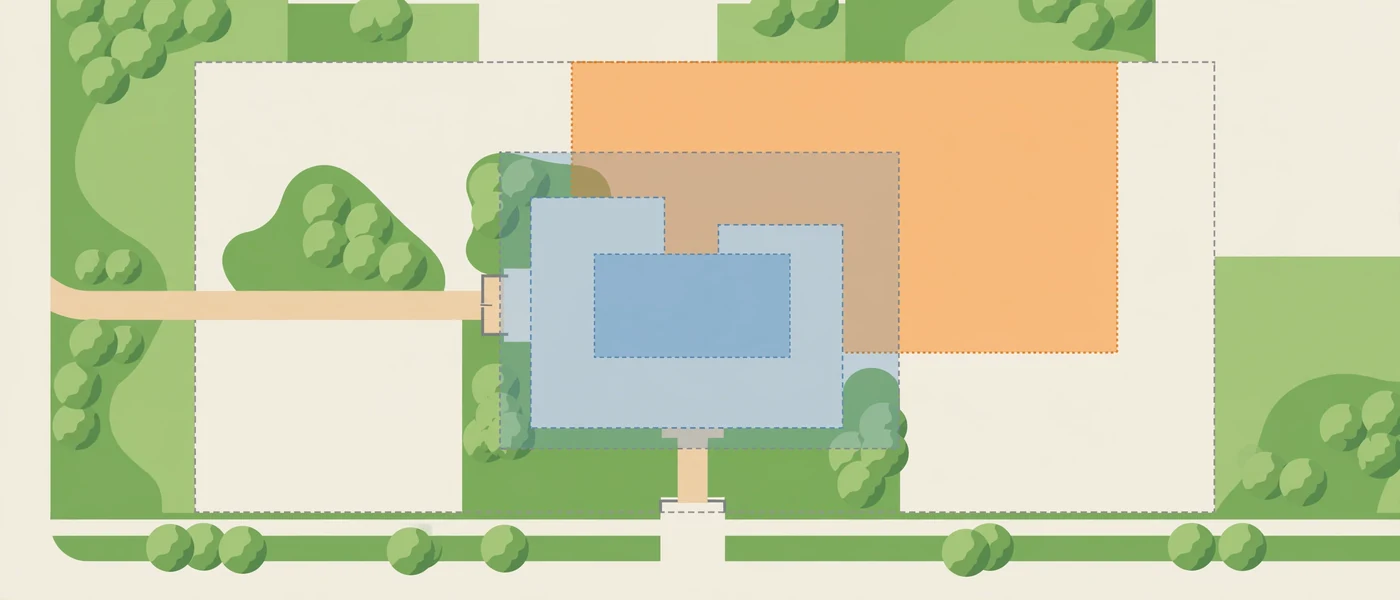
Best Practices for Community Meetings
- Lead with listening. Open by asking residents what they care about most.
- Show existing conditions first. Begin with the current site photo, then reveal the proposed view from the same position.
- Use large boards and printed handouts. Not everyone reads a screen comfortably.
- Offer multiple viewpoints. Let residents ask, “What does this look like from my street?” and answer that question directly.
- Bring the model or tablet. A real-time model lets you rotate views on request.
- Capture feedback visibly. Note requested changes and show how the design may respond.
Best Practices for the Formal Hearing
- Keep the deck short. Commissioners have long agendas, so limit slides to the views that answer the likely issues.
- Label every image. Include viewpoint number, date, time, and a one-line description.
- Prepare backup slides. Hold extra views ready for questions about specific properties.
- Match the staff report. Use the same imagery in the application packet and the presentation.
- Stay factual. Let the images carry the argument and avoid overclaiming.
Credibility First: How to Avoid “Hero Shot” Backlash
Nothing damages trust faster than a misleading image. If a rendering shows a sunny day, tiny cars, and oversized trees, opponents will notice, and they will say so on the record. One distorted image can discredit an entire application.
The Lincoln Institute of Land Policy publishes research on land use, planning, and community decision making, and its work reinforces a basic principle: public trust depends on transparent, understandable information. Renderings should follow that principle.
The Credibility Checklist
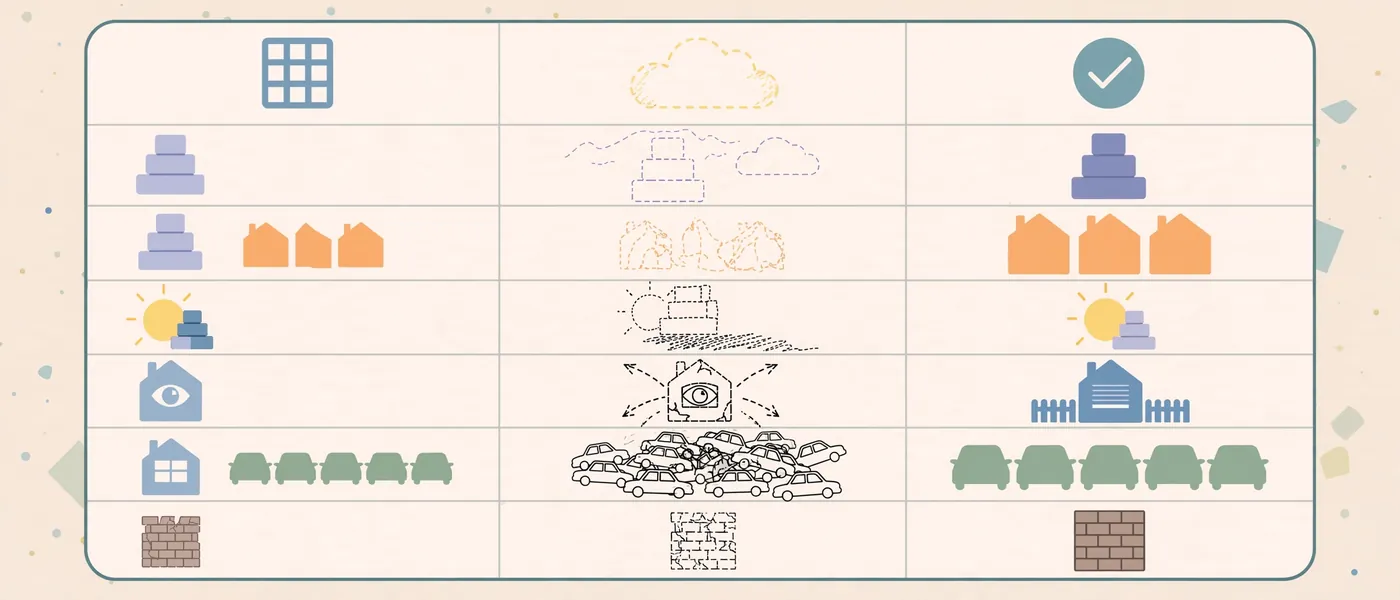
- Use realistic camera heights and lenses. Avoid ultra-wide lenses that stretch space and shrink the neighbors.
- Show real trees at installed size first. Present mature-tree views separately and label them clearly.
- Include neighboring properties. Do not crop them out.
- Use neutral weather and light. Overly dramatic sunsets look like advertising.
- Show vehicles, utilities, and signage. Missing items signal that something is hidden.
- Disclose the method. A short note explaining the software, viewpoint data, and assumptions prevents suspicion.
- Match the drawings exactly. If the rendering and the elevation disagree, the rendering loses.
In short, a rendering used in a hearing is closer to an exhibit than to an advertisement. Treat it with the same care as a traffic study or an engineering report.
Legal and Disclosure Note
Renderings illustrate design intent. They do not replace code compliance, survey data, or the approved plan set. Developers should coordinate with land-use counsel on how to label exhibits and how to describe their limitations in the record.
Budget and ROI: What a Rendering Package Costs vs. What Delay Costs
Rendering costs vary with the number of views, the level of detail, and the need for studies such as shadow analysis or animation. For a detailed view of typical pricing structures, read the 3D exterior rendering cost and price guide.
The key point is relative scale. Rendering fees represent a small slice of total entitlement and development costs. By comparison, a single continued hearing, a redesign cycle, or a failed vote can cost far more in carrying costs and professional fees.
Where the Return Shows Up
- Fewer redesign loops: Early views reveal conflicts before drawings are final.
- Faster staff alignment: Planners understand the proposal quickly.
- More productive hearings: Testimony focuses on solvable issues.
- Reusable assets: The same images support later marketing. For example, the visuals can feed into real estate pre-sales campaigns once approvals arrive.
- Stronger negotiating position: Clear visuals help teams propose conditions of approval with confidence.
Simple ROI Framework
- Estimate monthly carrying cost for the site (interest, taxes, insurance, overhead).
- Estimate the probable delay avoided if visuals prevent one continuance (often one to two months).
- Compare that avoided cost with the rendering package fee.
- Add the value of reduced redesign work and reusable marketing assets.
Even a conservative estimate often shows that visual investment pays for itself when it prevents a single delay.
Common Mistakes Developers Make with Zoning Renderings
Even experienced teams stumble. Avoid these frequent errors:
- Commissioning renderings too late. Late visuals can only defend. Early visuals can shape the conversation.
- Showing only flattering views. Opponents will request the views you left out, and the omission looks defensive.
- Ignoring neighbor viewpoints. The view that matters most is often from the property next door.
- Using inconsistent models. If the rendering differs from the filed plans, credibility suffers.
- Over-polishing the images. Heavy post-production, lens effects, and dramatic skies can look manipulative.
- Skipping documentation. Without camera data and a methodology note, you cannot defend the image under questioning.
- Treating renderings as a substitute for engagement. Images support dialogue. They do not replace it.
- Failing to update after changes. Outdated renderings confuse staff and hand opponents an easy criticism.
Expert Tips for Stronger Entitlement Visuals
These practical insights come from the way professional visualization teams structure zoning projects:
- Pick views with the planner, not only the architect. Planners know which objections will surface.
- Build the model once, reuse it many times. A solid 3D model supports views, studies, animations, and later marketing.
- Create a “worst-case” view voluntarily. Showing the tightest sightline builds trust and prepares you for questions.
- Test colors and materials in context. A palette that looks fine on a screen can feel heavy against a specific block.
- Phase landscaping honestly. Show planting at installation, at three to five years, and at maturity.
- Keep file naming and version control tight. Label every export by view number, date, and revision.
- Prepare a one-page visual summary. Boards, handouts, and email attachments need a quick, scannable version.
- Rehearse with a skeptical audience. A mock hearing exposes weak views before the real one does.
For readers who want market context, the US housing market 3D exterior rendering trends overview explains how demand for visualization keeps growing across residential and mixed-use development.
Frequently Asked Questions About 3D Rendering Zoning Community Opposition
What is 3D rendering for zoning and community opposition?
It is the use of accurate, context-matched 3D exterior images and studies to explain a proposed project to planning staff, boards, and neighbors. The images show height, massing, materials, landscaping, and shadows so that decision makers evaluate the real design instead of assumptions.
Can 3D renderings really reduce community opposition?
Renderings cannot erase disagreement, but they often reduce opposition that comes from uncertainty. When neighbors see an honest, well-documented view of the project, the discussion usually shifts toward specific design points that the team can address.
How many renderings do I need for a zoning hearing?
Most projects need four to eight well-chosen views, plus a viewpoint map. Larger or more sensitive sites may add shadow studies, aerials, and additional neighbor perspectives. The right number depends on the likely objections.
Are renderings legally binding in the approval process?
Renderings illustrate design intent. The approved plans, conditions, and code requirements remain the controlling documents. Developers should ask land-use counsel how to label exhibits and present their limitations.
When should I order renderings for a zoning application?
Order them early, ideally during concept design or before the pre-application meeting. Early visuals help shape the design and support outreach before opposition forms.
What makes a rendering credible in a public hearing?
Credible renderings use realistic camera heights, true-to-scale models, neutral lighting, visible neighbors, and documented viewpoints. They also match the filed drawings exactly.
How is a zoning rendering different from a marketing rendering?
A zoning rendering prioritizes accuracy, context, and documentation. A marketing rendering prioritizes emotion and appeal. Many teams create the zoning set first, then adapt the model for marketing after approval.
Conclusion: Turn Zoning Risk into a Clear Visual Story
Zoning and community opposition will always shape US development. Yet the teams that win approvals most often are the teams that communicate clearly. A thoughtful 3D rendering zoning community opposition strategy replaces guesswork with evidence, builds trust with neighbors, and gives planners the clarity they need to support a project.

To recap the essentials:
- Start visual work early, ideally before the pre-application meeting.
- Build views around real objections, including the ones you would rather avoid.
- Document every camera position, lens, and assumption.
- Keep renderings consistent with the filed drawings.
- Reuse the same model for studies, boards, hearings, and later marketing.
Ready to strengthen your next application? Get entitlement-ready 3D exterior renderings that help your project win approvals faster and turn community concerns into productive design conversations.